We have been blessed with some fabulous weather over the last few weeks and I'm so glad I don't have to drag on boots and heavy jackets any more. We have been spending weekends roaming around and catching up with friends and the blog has been consistently ignored. That doesn't mean I haven't been cooking, its just that I've gone on this crazy low-carb diet and so whip up something or the other as and when I want to eat, and salads being a star at most of our meals, I thought I should at least make an attempt to post one here.
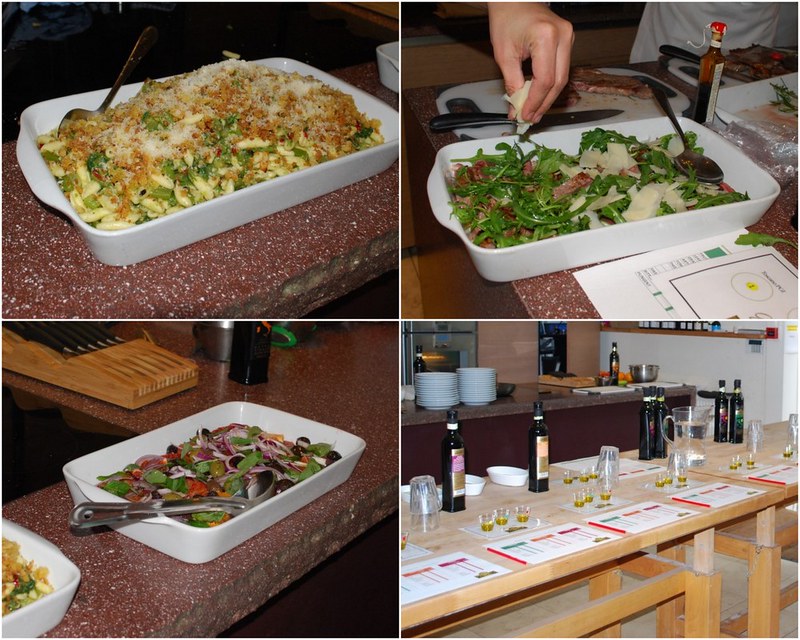
Another reason for the salad, the gorgeous olive oil I've used in it. I was invited to an exclusive tasting event for the launch of the Filippo Berio Gran Cru range where the tasting expert talked us through the 3 exceptional regional Italian EVOO and then for a hands on cooking experience using them in regional Italian dishes. The evening started off as usual with some gorgeous wine and casual conversation and then moved on to the tasting session. After tasting the oils, we were all asked to write down the tasting notes and then compare it to the actual tasting notes, while gorging on some delicious focaccia made by the talented chefs at La Cucina Caldesi Cookery School.
(Photo courtesy: Filippo Berio)
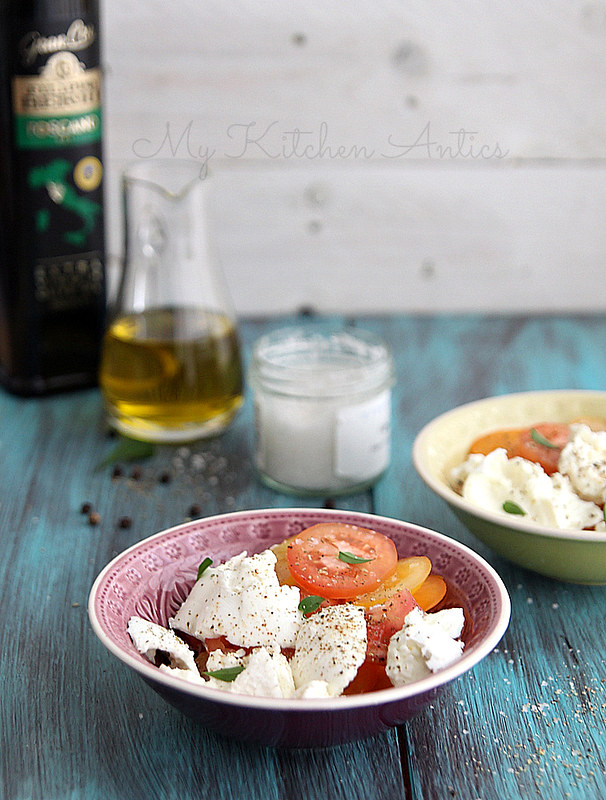
We then moved on to the cooking session and I was in charge of frying the steak. It was an eye opener for me, as I always end up over doing my steak and here, the moment I put it on the pan, the chef would ask me to flip it and take it off. The dishes were all prepared using the 3 different Gran Cru oils- Dauna, Monti Iblei and Toscano and we were given a lot of tips on how to use these oils in cooking, baking, and as dips and dressings. After our laborious efforts, we sat down to eat what we cooked- Insalata di Arance Rosse (a blood orange salad), Steak Tagliata, and a pasta with greens and garlic croutons, which was my favourite of the 3. To finish off the evening, we all dug into some tasty biscotti and dessert wine and then headed home with a goody bag containing the Gran Cru range.I myself just started cooking with olive oil and the event sure did help me figure out tastes, characteristics etc. It made me realise that cooking with a good brand of olive oil did make a lot of difference. I now regularly use the Gran Cru range and although they come at a hefty 9.99 quid a bottle, I think its worth it. I used the Toscano Gran Cru Extra Virgin in this recipe and it tasted fab. Ro clearly loved it as he was literally drinking the olive oil at the base of the salad bowl. There is no recipe as such. You just eye ball the quantity you want, mix it together and there, you have a fabulous summer salad. . Enjoy the sunny days ahead peeps!
Serves 2 generously
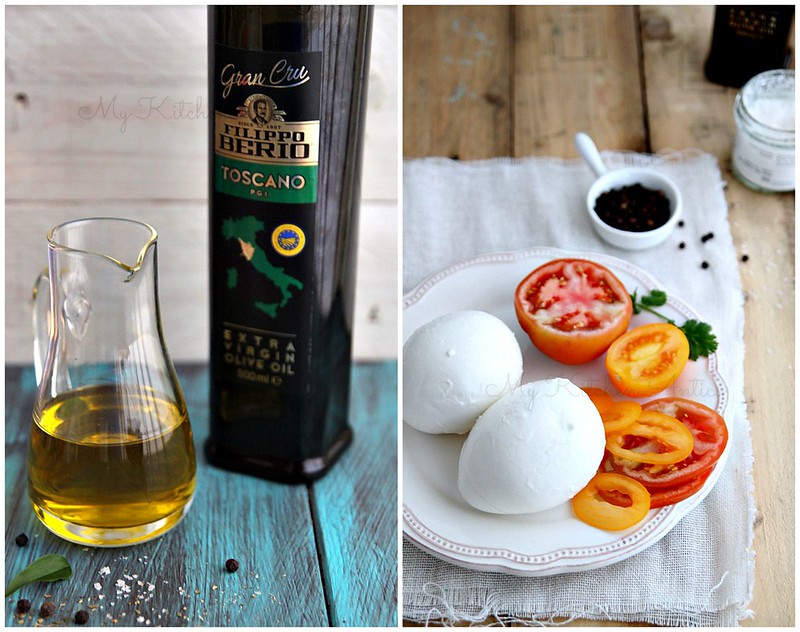
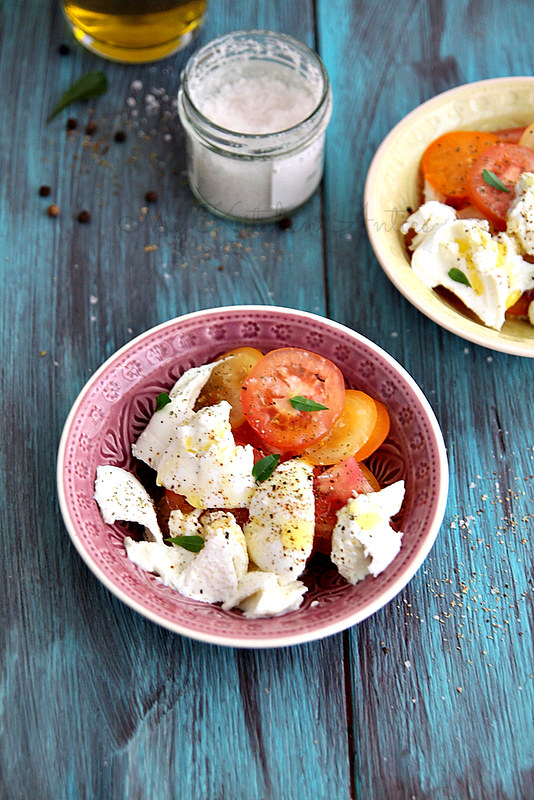
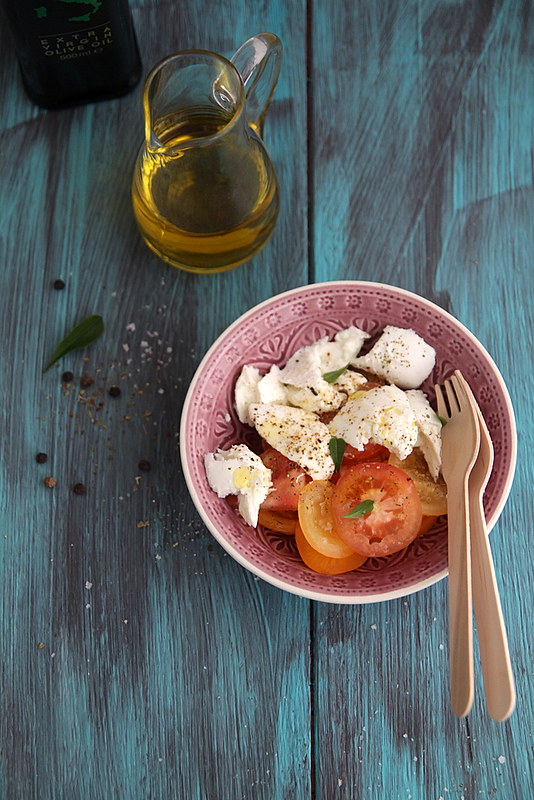
Burrata- 200 gms
Heirloom tomatoes- 3 to 4 large, roughly chopped or sliced as rounds
Basil- a handful
Oregano- a few generous sprinkles
Pepper- to taste
Fleur de Sel- a generous sprinkle
Extra virgin olive oil- a good good glug (say around 1/4 cup)
In a separate bowl, whisk together the basil, oregano, pepper, salt and EVOO and pour over the chopped tomatoes.
Give it a good stir, to evenly mix the dressing, but be careful to not break the tomatoes.
Let this sit aside for about 10 minutes, just to infuse the flavours.
When ready to serve, tear the Burrata into smaller pieces and add to the salad bowl. Gently mix.
Do a taste test, sprinkle some more Fleur de Sel on top, tear a few basil leaves and add if needed.
Serve immediately.
Notes: Instead of Burrata, you can of course use Mozzarella. But once you've tasted Burrata, you'd never look back. Its basically an outer shell of mozzarella and an inner cream and butter centre. Yeah, I know!!! If only it was available in all super markets! I picked up mine from Waitrose.
Add some blood oranges and it would be even more refreshing. I couldn't get my hands on any. You can also substitute with red grapefruit if you like the tangy taste.
You can also do individual portions like i did, if you are doing it as part of a course.
With thanks to Filippo Berio for inviting me and Ro to the event and for the goody bag.